 Skip to content


Root Refresh and Thickening Micro Ring Hair Extensions
Deciding What To Colour Before Applying Hair Extensions
Before fitting hair extensions, whether, for thickness or length, it is important to ensure that you and your client are happy with the colour of the natural hair, as once the hair extensions have been fitted it can be difficult to efficiently alter or correct the colour of the natural hair.
In our client's case, their roots were quite overgrown, and therefore to achieve the final look our client desired, it was necessary to colour the roots before moving onto the hair extensions.
We, therefore, decided upon a half head of root regrowth work, as a cost and time-efficient way of achieving the client finished look in one session.


Colouring The Hair Before Hair Extensions
We begin by sectioning our client's hair into 3 pieces so that we could work on the back section first.
We are using a 9% Peroxide and 30g Powder with Olaplex and will be checking the development regularly. As we are only doing half a head and our client's hair is fine, we are going to use the same volume developer throughout, rinsing off the back section once they reach the level we want.
In regards to the application, for a nice even overall finish we are alternating between a standard weave and a slice, using a tint brush and rose gold foil to help the product development at a controlled temperature. Should the back develop faster than we like, we are able to slow down the processes by opening or removing the foil.
Once the back section is complete, we move onto the sides, regularly checking the back sections, followed by the parting as the final section. For the parting we are sticking to just a slice, for a beautiful clean colour through the parting.
Once the hair has developed to the level you require, it's time to rinse the product with shampoo and conditioner.


Washing & Applying Toner
We can now tone the hair at the basin, for a beautiful creamy blonde finish. We are using the Redken Shades EQ in Vanilla Creme 09g mixed with gloss and apply liberally throughout the hair. Once the colour is where we like it, we can then rinse and wash the hair for a final time, however as we are moving on to fit hair extensions, we will only be using shampoo without conditioner.

Fitting Micro Ring Hair Extensions
Once the hair has been detangled and dried, you can perform a colour match for your hair extensions. We selected a mix of colour 22 and colour 60, with caramel microtubes for our client.
It is important to make sure you are assessing the hair in natural sunlight, as artificial light can cause the colour to look warmer than it is.
As our client has fine hair, she only requires half a head of hair extensions to add volume and thickness.


Sectioning Hair For Hair Extensions
We start by sectioning the hair into 4 sections, as this helps to keep the hair out of the way and ensures you are able to select neat sections of hair for the micro ring. Use your pintail comb to create your first section across the bottom of the head, and use large sectioning clips to keep the hair secured and ensure your work area is easily accessible. We love to use velcro grippers to keep any smaller hairs out of the way.
Create a V Shape for Micro Rings Application
Using a pintail comb, create V-shaped sections for your microtubes. V-shaped sections allow for even weight distribution with the maximum movement for each piece of hair.
Work your way up the back of the head, always checking that the bonds are not visible. Once you have filled the back section, you can apply the hair extensions to each side.
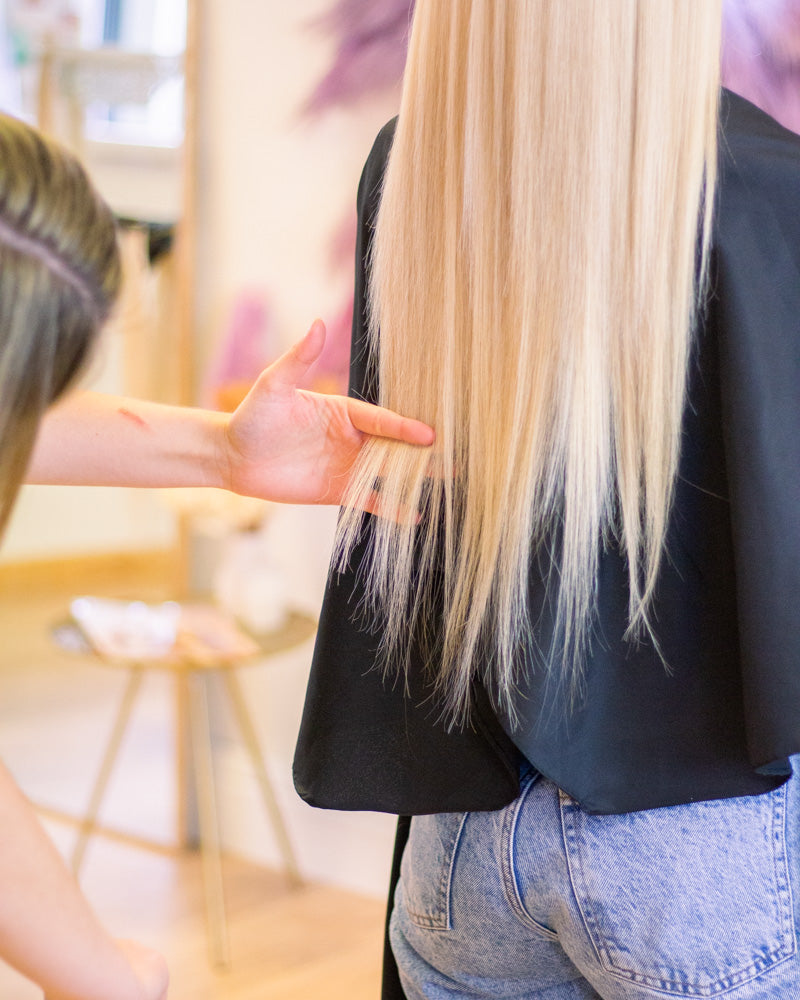

Styling and Finish
As our client only required a half head for thickness, the look was finished off by trimming the hair extensions to match the length of our client's natural hair.
We finished our clients' look with a curl using a hair straightener for even more volume!


